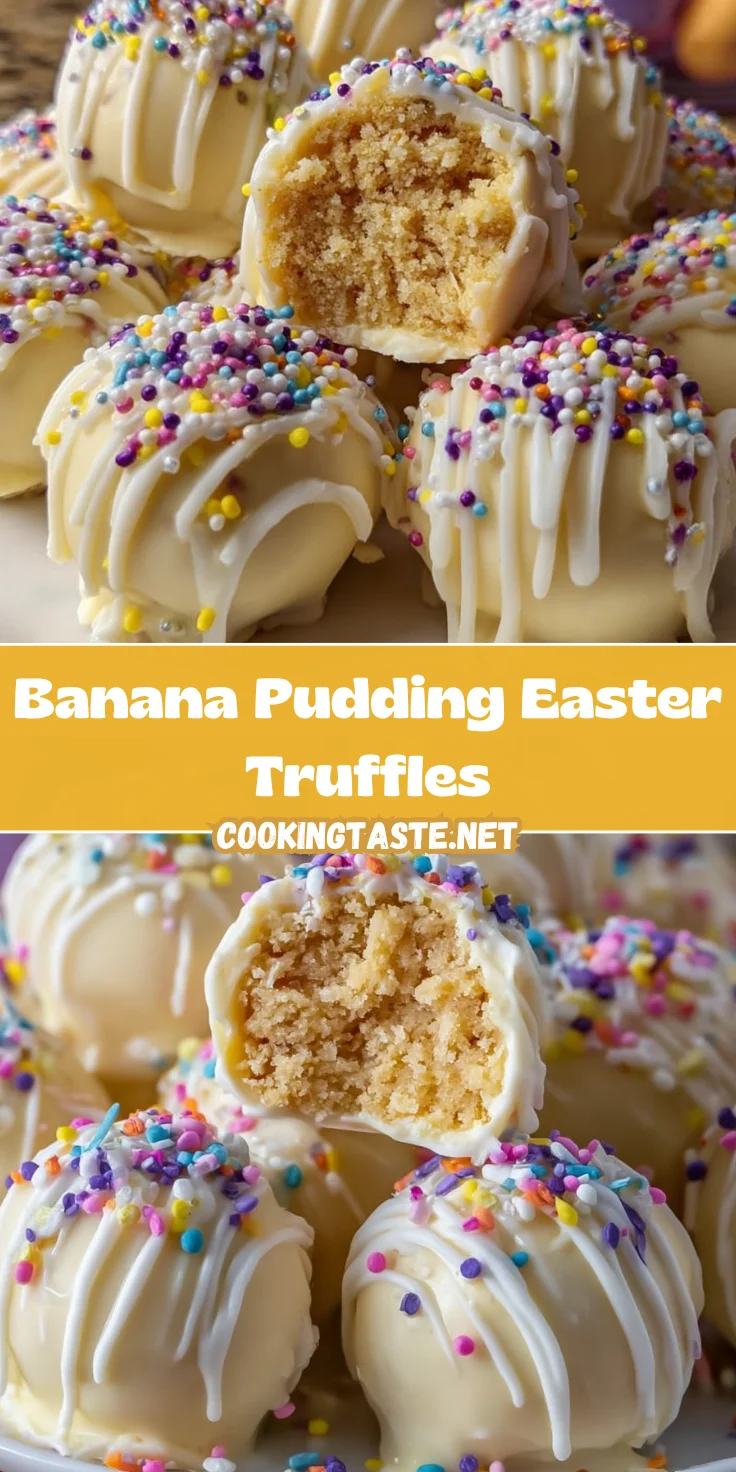
Introduction to Banana Pudding Easter Truffles
As Easter approaches, I find myself craving sweets, especially something that brings joy with every bite. That’s where these Banana Pudding Easter Truffles come into play! They’re a delightful twist on a classic dessert that transforms a busy day into something special. Whether you’re a mom juggling schedules or a professional looking to impress at gatherings, these no-bake truffles are the perfect solution. With just a handful of ingredients and minimal prep time, you’ll create an unforgettable treat that both kids and adults will adore. Let’s dive right into this sweet adventure!
Why You’ll Love This Banana Pudding Easter Truffles
These Banana Pudding Easter Truffles are a game-changer when it comes to dessert! They are incredibly easy to whip up, making them a fantastic choice for busy schedules. The creamy banana flavor and crisp vanilla wafers create an irresistible taste. Plus, the joyful pops of color from sprinkles make them visually stunning for any celebration. You can easily tailor them to fit your family’s preferences! What’s not to love?
Ingredients for Banana Pudding Easter Truffles
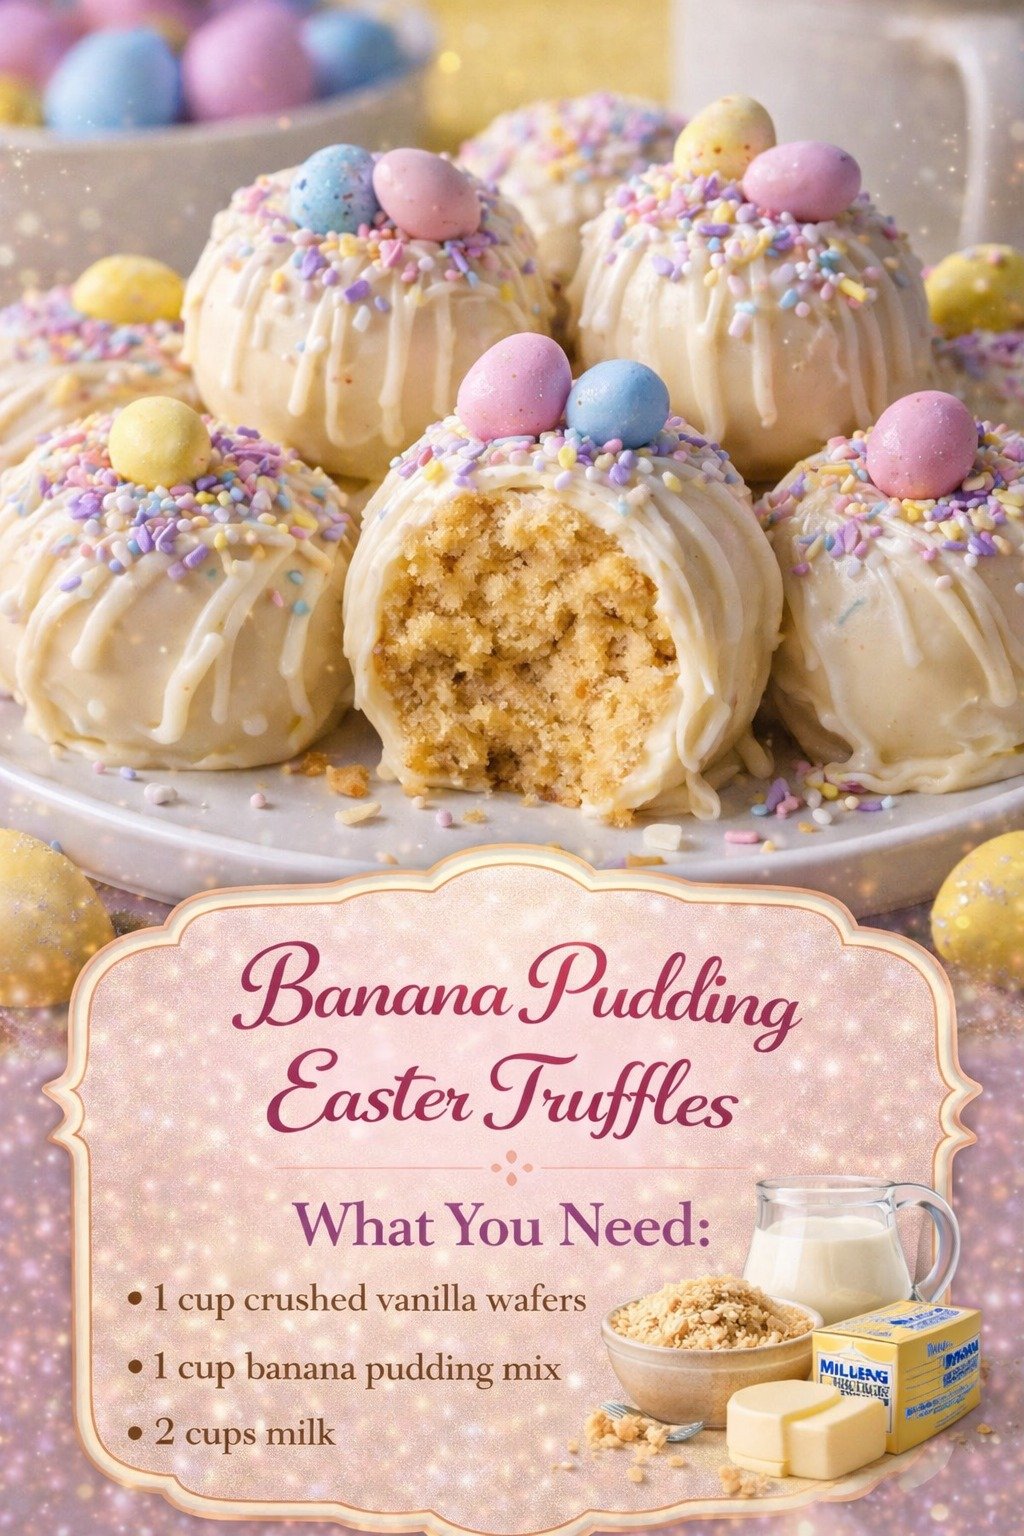
Gathering the right ingredients is half the fun of baking, and these Banana Pudding Easter Truffles are no exception! Here’s what you’ll need:
Banana pudding mix: This is the star ingredient that gives your truffles that luscious banana flavor. It’s a quick route to creamy goodness!
Milk: Helps activate the pudding mix and adds a silky texture. You can use dairy or a non-dairy alternative like almond milk if preferred.
Crushed vanilla wafers: These crunchy pieces provide a delightful contrast to the creamy filling. You can also use graham crackers for a fun twist!
Cream cheese: Adds richness and a smooth texture. Make sure it’s softened for easy blending. Cream cheese alternatives are available for those dairy-free.
Powdered sugar: A must for sweetness and to help the mixture hold together. You can try coconut sugar as a substitute for a healthier choice!
Vanilla extract: This enhances the overall flavor, making it more aromatic. Pure vanilla extract is best, but imitation works fine, too.
White chocolate chips: These are melted to coat the truffles, giving them a sweet, creamy finish. If you’re feeling adventurous, swap them with dark chocolate for a richer taste.
Colorful sprinkles: These add a festive touch! Use whatever colors suit your celebration or theme, and let your creativity shine!
For exact quantities, don’t worry! They are listed at the end of the article, ready for printing when you want to make these truffles yourself.
How to Make Banana Pudding Easter Truffles
Making these delightful Banana Pudding Easter Truffles is a breeze, and I’ll guide you through every step. With each bite, you’ll experience a burst of banana flavor that’s simply unforgettable. Now, let’s get started!
Step 1: Whisk the Pudding Mix and Milk
Start by grabbing a medium bowl. Add the banana pudding mix and milk to it. Whisk them together until the mixture thickens and resembles pudding. It should take just a few minutes. This is where the magic begins!
Step 2: Combine Cream Cheese and Sugar
Next, add in the softened cream cheese, powdered sugar, and vanilla extract. Mix everything together until it’s nice and smooth. You can use a hand mixer if you want to save time. The goal is creamy perfection!
Step 3: Fold in Vanilla Wafers
Now, it’s time to fold in those crushed vanilla wafers. Gently stir until they are evenly distributed. This step adds texture and crunch to your truffles. You’ll really love that contrast!
Step 4: Chill the Mixture
Cover the bowl and place it in the refrigerator for about 30 minutes. Chilling makes it easier to handle the mixture later. Trust me, waiting is worth it for perfectly shaped truffles!
Step 5: Form the Truffles
Once chilled, scoop small portions of the mixture. With your hands, roll them into 1-inch balls. Place each ball on a parchment-lined baking sheet. Keep them spaced out, as they’ll need room later!
Step 6: Melt the White Chocolate
Time to melt those white chocolate chips! Place them in a microwave-safe bowl. Heat in short intervals, stirring in between. The aim is a silky smooth chocolate. Be patient; it’s worth the wait!
Step 7: Coat the Truffles
Take each truffle and dip it in the melted chocolate. Ensure they’re fully coated. Using a fork can help with this task. It’s like giving each truffle a warm, sweet bath!
Step 8: Add Sprinkles and Refrigerate
After coating, carefully place the truffles back on the parchment paper. It’s sprinkle time! Add those colorful sprinkles right on top. Then, refrigerate them again for about 20-30 minutes until the chocolate coating firms up. Voila, you’re almost there!
Tips for Success
For Complete Cooking STEPS Please Head On Over To Next Page Or Open button (>) and don’t forget to SHARE with your Facebook friends